
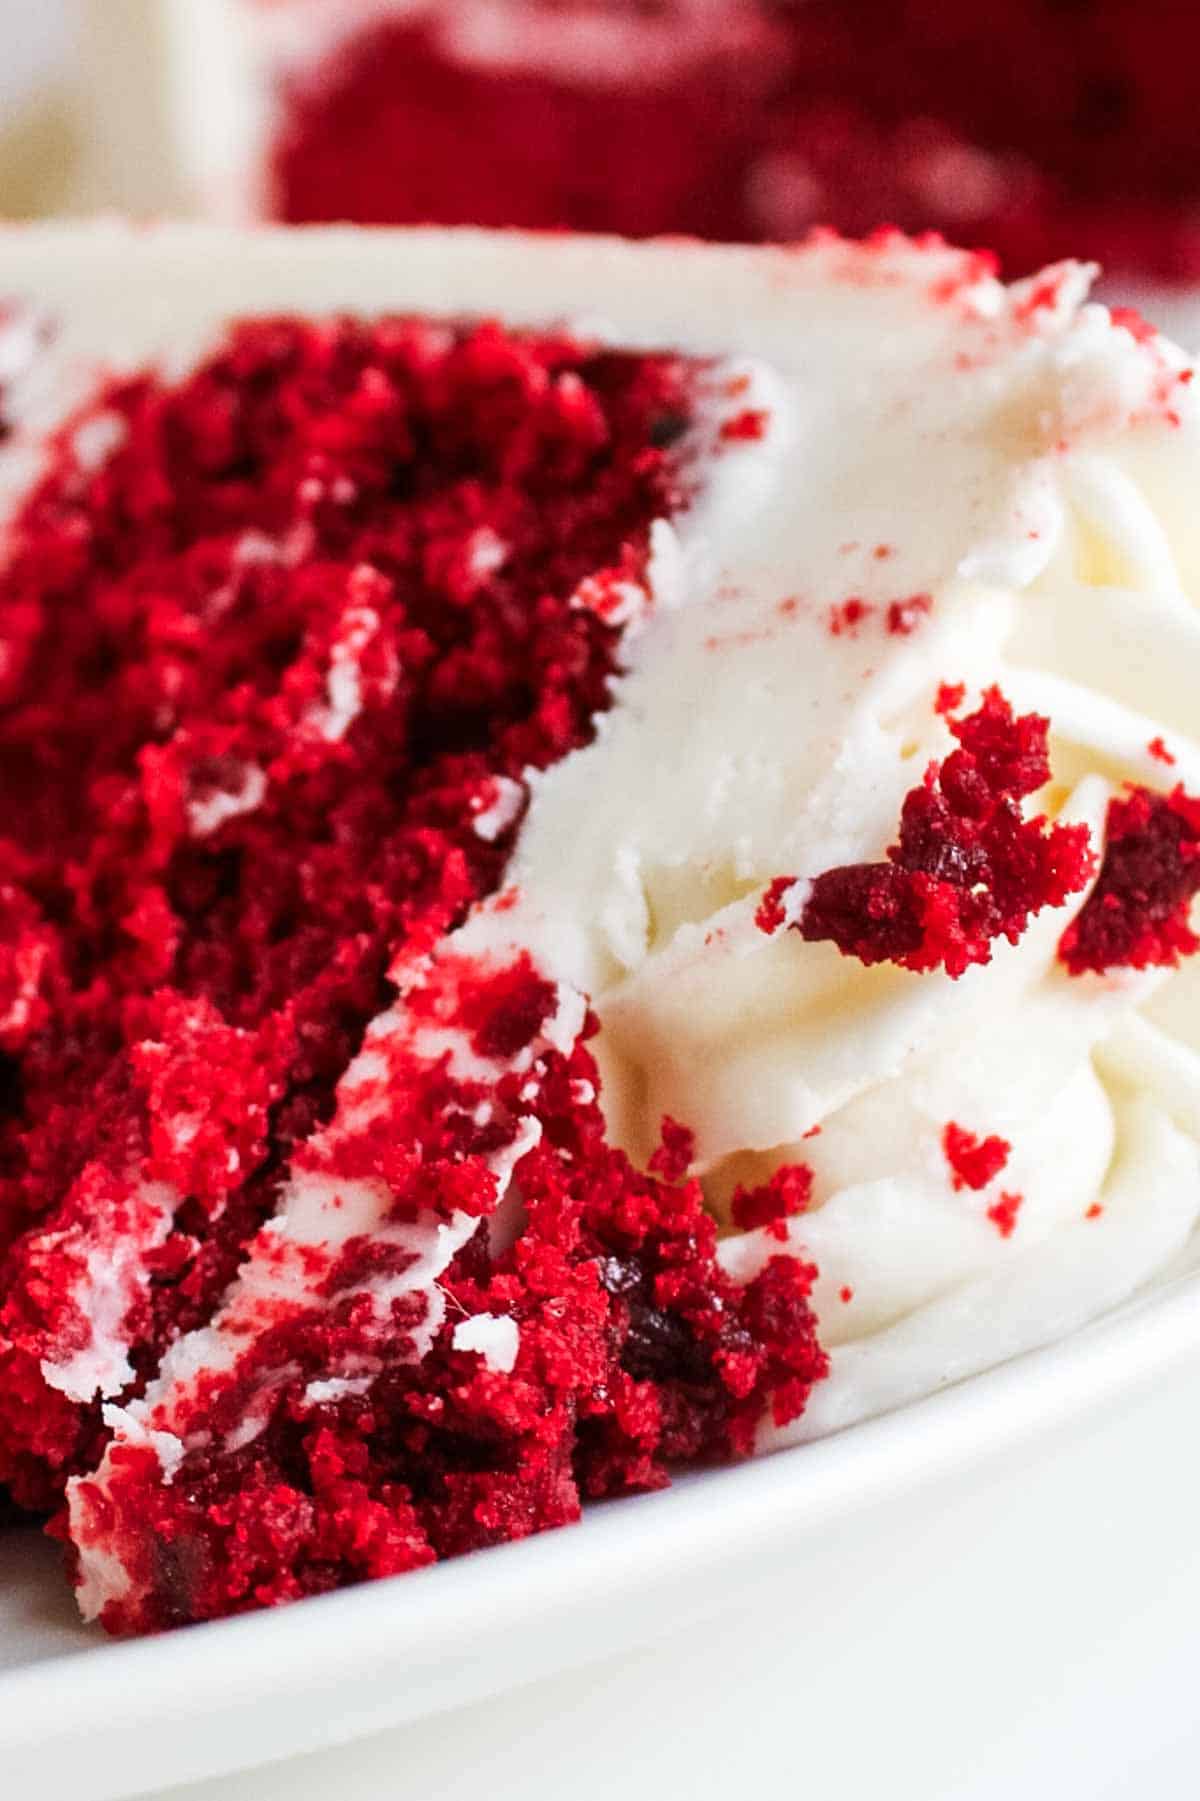
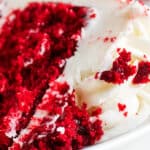
The Best Red Velvet Layer Cake You’ll Ever Have
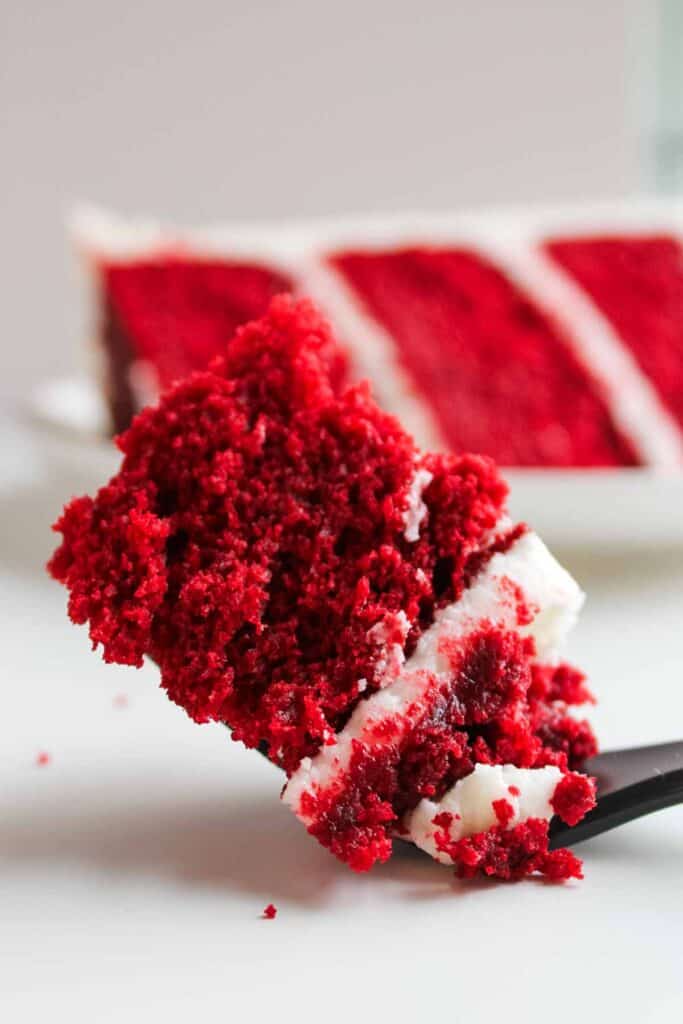
This Red Velvet Layer Cake is everything you’ve been craving—and more. If you’ve never been a fan of red velvet, trust me, you’ll want to give this recipe a try. It’s a game-changer! Believe it or not, I’ve had several people admit they weren’t big red velvet fans… until they tasted this cake! From the perfectly moist cake layers to the rich and creamy cream cheese buttercream, you’ll be wanting more with each bite!
INGREDIENTS FOR RED VELVET CAKE WITH CREAM CHEESE FROSTING
- Electric Hand Mixer (affiliate)
- (3) 8 Inch Round Cake Pans or (4) 6 Inch Round Pans
- Non-Stick Baking Spray
- Red Velvet Cake Mix (I prefer Duncan Hines)
- All-Purpose Flour
- Granulated Sugar
- Cocoa Powder
- Unsalted Butter
- Sour Cream
- Vegetable Oil
- Milk
- Vanilla Extract
- Eggs
- Red Gel Food Coloring (optional)
- Cream Cheese
- Powdered Sugar
- Heavy Cream
- White Gel Food Coloring (affiliate) (optional)
- Salt
- Food Scale (optional, but highly recommended)
SHOP MY POST
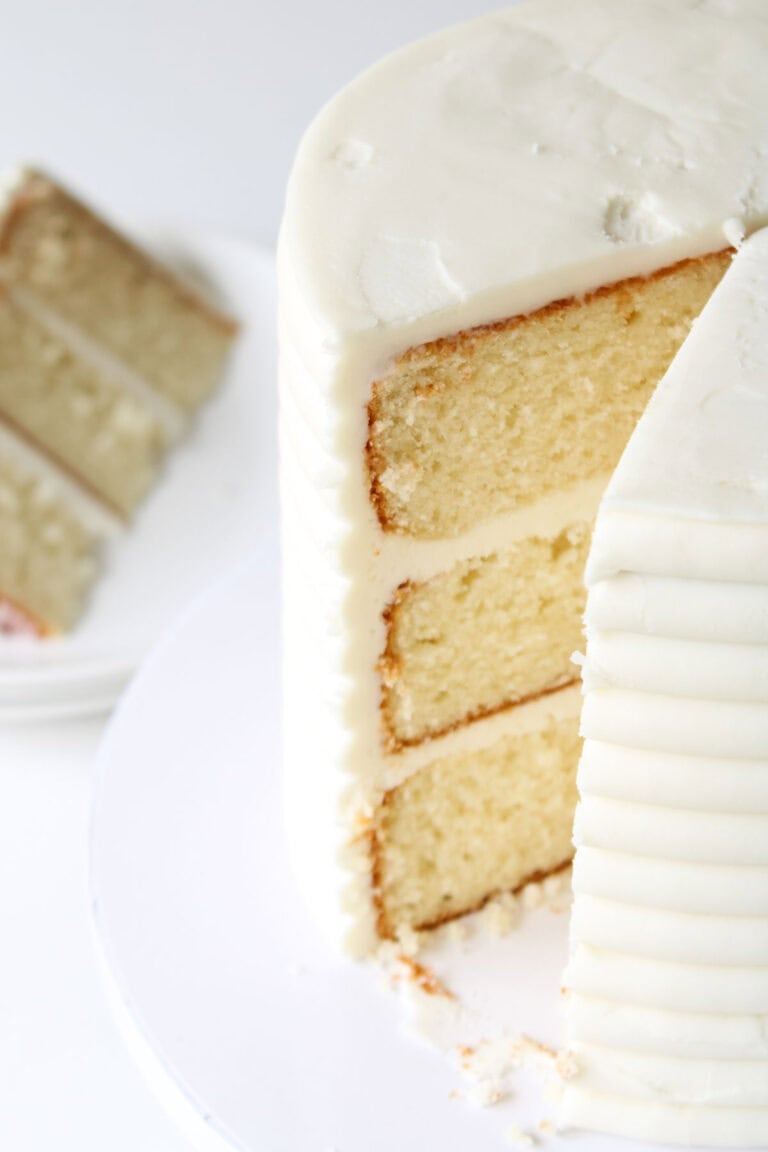
TIPS FOR PERFECT CAKE LAYERS
This Red Velvet Layer Cake Recipe is super easy to follow, and nearly fail-proof in my opinion. But sometimes we need a little extra help! These baking tips will help you achieve the perfect cake texture, every time!
BEFORE BAKING:
- Room Temperature Ingredients: Let the eggs, milk, and sour cream come to room temperature before mixing. This helps the ingredients combine more evenly, resulting in a smoother, fluffier batter.
- Precise Measuring: Use a food scale for accuracy, especially when measuring flour. Too much flour can cause dry and dense cake layers. If you can’t get your hands on a food scale, spoon the flour into your measuring cup and gently level off with a knife for the most accurate measurement.
- Pan Preparation: Prepare your pans with a baking spray, or homemade pan release. There are plenty of homemade pan release recipes online! My absolute favorite is Pam Baking Spray. I have never had a cake stick when using this spray! You can also use parchment paper rounds at the bottom of each cake pan for extra insurance.
MIXING INGREDIENTS & BAKING:
- Mixing Technique: “Don’t over-mix the batter!” This is a common phrase in the baking world. Believe it or not, with recipes using a box cake mix, this isn’t the case. When you beat air into a cake mix recipe, something magical happens. With that being said, don’t be afraid to use your hand mixer on a medium-high setting until your batter is smooth and all ingredients are fully incorporated.
- Don’t Overbake: Overbaking can lead to a dry and crumbly texture. Use a toothpick or knife and insert into the center of the cake – if it comes out clean or with a few moist crumbs, it’s good to go.
- PRO TIP: You can also gently press your finger into the top of the cake, if it springs back slowly, it’s done! If your finger leaves an indent, bake for a few more minutes and try again.
AFTER BAKING:
- Cooling: Let cool for 10-15 minutes before transferring to a wire rack. This gives the cake time to set and prevents any tearing when being moved.
- Storage: Be sure to store properly to lock in that moisture! I recommend double wrapping the cake layers in plastic wrap, and storing in the freezer until you are ready to add the frosting.
DOCTORED = CAKE MIX BUT BETTER
- Easy Upgrades: Adding a few simple ingredients such as melted butter, vanilla extract, and sour cream, can create a homemade taste with the best texture!
- Flexibility: You can customize a doctored cake mix recipe however you’d like! Add-ins like chocolate chips, pudding mixes, or flavored extracts can completely transform a basic box mix. I’m telling you, people won’t believe it started with a cake mix!
- Consistency: Box cake mixes provide an extremely reliable base, no messing with baking powder or baking soda, and the end result is super consistent.
- Time-Saving: It can be so discouraging spending time and ingredients on a cake that doesn’t turn out right. I’ve been there! Doctored cake mix recipes are absolutely delicious, without spending hours in the kitchen.
FAQ FOR RED VELVET CAKE
My absolute favorite is always Duncan Hines for doctored cake mix recipes.
Absolutely, yes! I never bake and decorate a cake in the same day. Double wrap the cake layers in Saran Wrap, and they will be good in the freezer for up to a month.
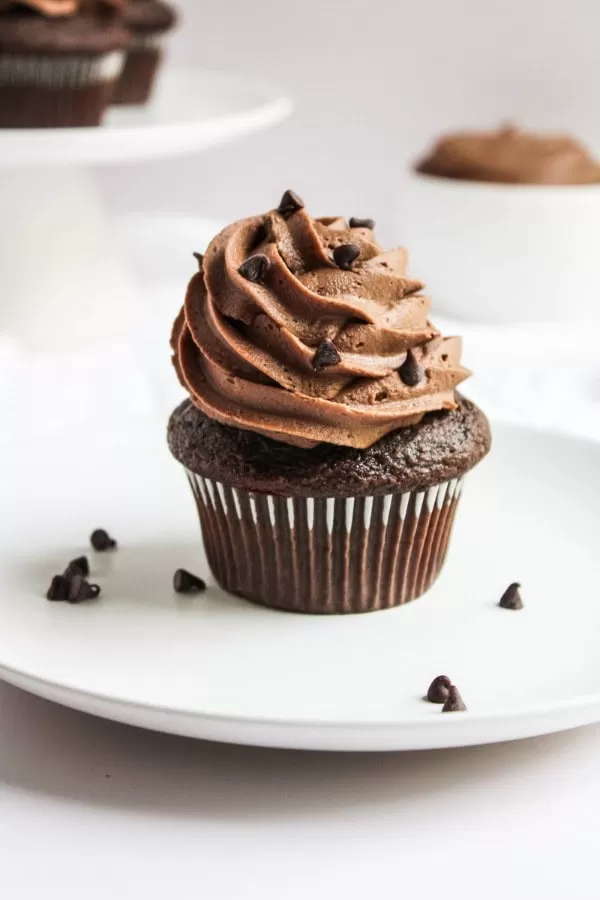
Cream cheese frosting pairs so well with red velvet cake! You can also never go wrong with a simple American Buttercream.
Yes! If you like a little extra taaaang, you can substitute 1:1 buttermilk for milk. If you don’t have any buttermilk on hand, you can add a tablespoon of vinegar to a cup of regular milk and create your own buttermilk replacement.
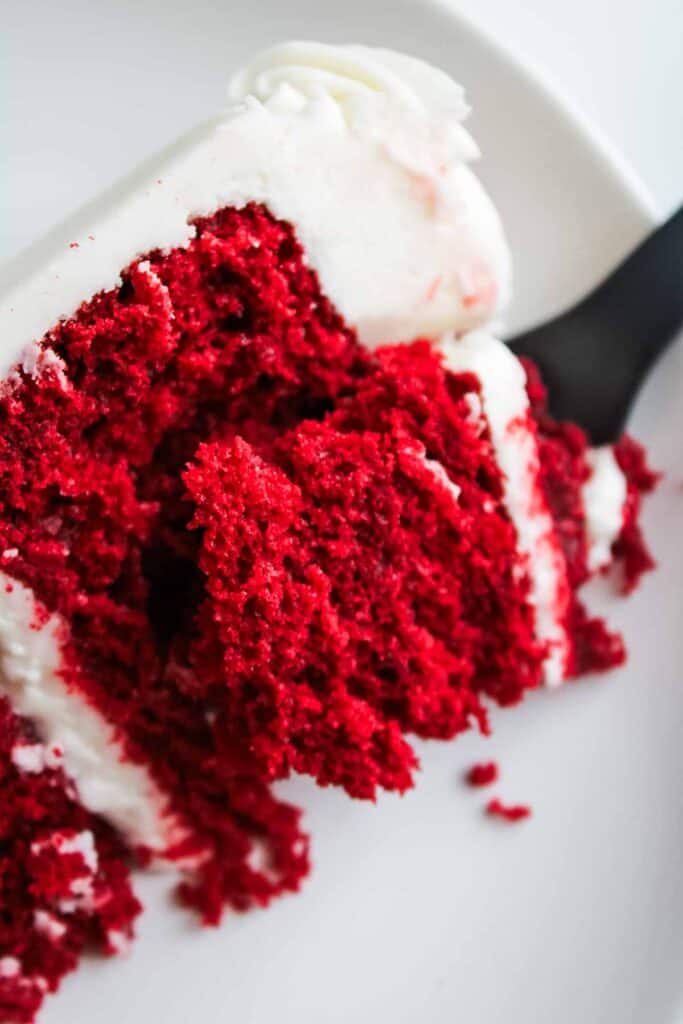
Well, there you have it – your new favorite red velvet layer cake recipe! It’s super easy to make and guaranteed to have your friends and family dying for the recipe! Whether you’re gearing up for a celebration, baking a special birthday cake, or just in the mood for a good slice of red velvet cake, this recipe hits the spot every time!
Continue below for the easy-to-follow recipe, dig in, and enjoy every bite!
Red Velvet Cake Recipe
- Total Time: 1 hour
- Yield: 25 slices 1x
Description
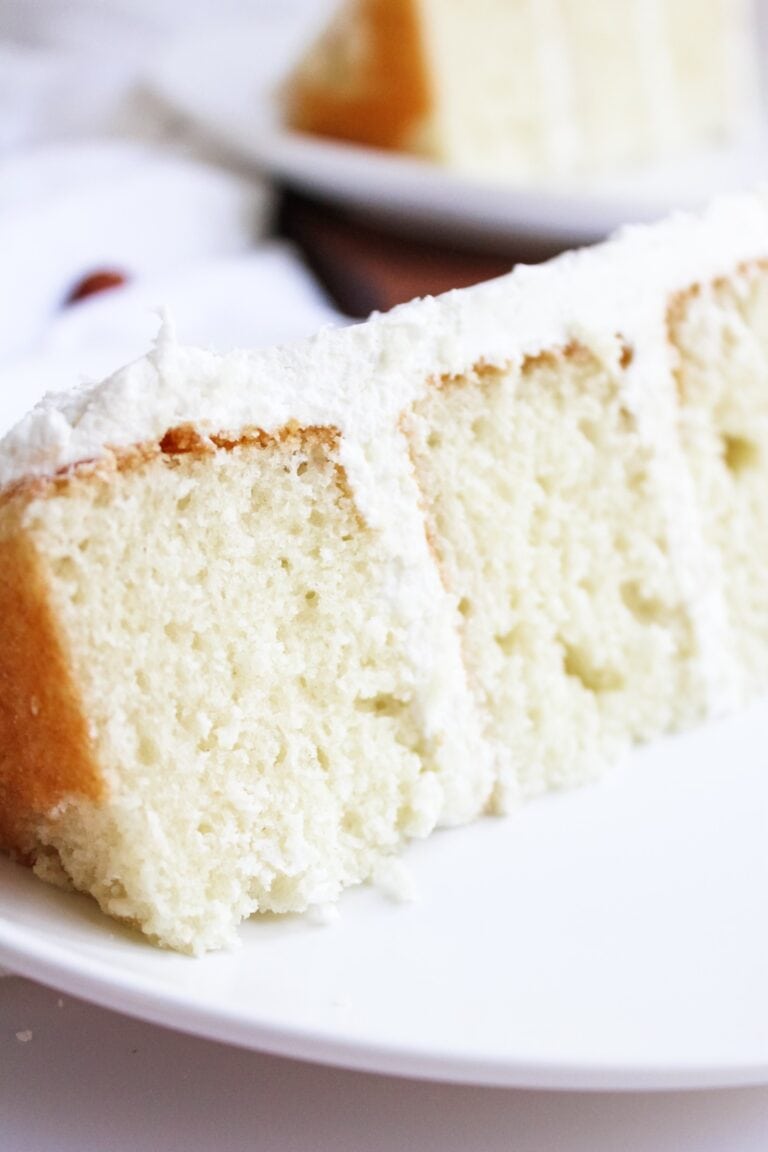
This Red Velvet Layer Cake is everything you’ve been craving—and more. From the perfectly moist cake layers to the rich and creamy cream cheese buttercream, you’ll be wanting more with each bite!
Ingredients
Red Velvet Cake Layers
- 1 Box Red Velvet Cake Mix (Duncan Hines)
- 1 cup Granulated Sugar
- 1 cup All-Purpose Flour
- 1/2 Teaspoon Salt
- 1 Tablespoon Cocoa Powder
- 3 Eggs (room temp)
- 1/2 cup Unsalted Butter (melted)
- 1 cup Sour Cream
- 1/4 cup Vegetable Oil
- 1 cup Milk
- 1 Tablespoon Vanilla Extract
- 1 Teaspoon Red Gel Food Coloring (optional)
Cream Cheese Buttercream Frosting
- 1/2 cup Unsalted Butter
- 1/2 cup Cream Cheese
- 9 cups Powdered Sugar
- 1 Teaspoon Vanilla Extract
- 1/2 Teaspoon Salt
- 2 Teaspoon White Gel Food Coloring (optional)
- 6–8 Tablespoons Heavy Whipping Cream
Instructions
Red Velvet Cake Layers
- Preheat & Prep: Preheat oven to 345°F. Prepare (4) 6 inch cake pans or (3) 8 inch cake pans with baking spray or a homemade pan release. You can also use parchment paper rounds at the bottom of the pans for extra insurance.
- Melt Butter: In a microwave-safe bowl, microwave the butter at 15-30 second intervals until completely melted. Set aside.
- Wet Ingredients: Measure sour cream and milk into a small, microwave-safe bowl. If not already at room temperature, microwave for 30 seconds to bring to room temperature and set aside.
- Eggs: If eggs are not room temperature, add whole eggs into a bowl with warm water and let sit for 5-10 minutes. Crack eggs into a separate bowl, and set aside. Doing this gives you a chance to fish out any unwanted egg shells!
- Dry Ingredients: Add flour, sugar, red velvet cake mix, cocoa powder, and salt to a large mixing bowl. Use a whisk or spoon to gently combine the dry ingredients.
- One Bowl: Combine all ingredients into the larger bowl containing the dry ingredients. Don’t forget to add the vegetable oil and vanilla extract!
- Mix It Up! Whisk or mix ingredients together with an electric hand mixer, starting on low and increasing speed to med-high. Scraping bowl periodically to make sure all ingredients are incorporating and not stuck on the bottom. Mix until batter is smooth and fluffy, usually 1-2 minutes!
- Pour into Pans: Pour batter into prepared cake pans. If you can, use a food scale to evenly distribute batter between pans for consistent cake layer size.
- Bake: Bake for 30-32 min for 6 inch pans, and 28-30 min for 8 inch pans. Insert a toothpick or knife into the center of the cake – if it comes out clean or with a few moist crumbs, it’s good to go. You can also gently press your finger into the top of the cake, if it springs back slowly, it’s done!
- Cooling: Let cakes cool in pan for 10-15 minutes, and transfer to a wire cooling rack to finish cooling.
Cream Cheese Buttercream Frosting
- Whip It Up! Start by adding the room temperature butter and cream cheese to a stand mixer, fitted with the paddle attachment. Whip the butter on a medium speed for about 1-2 minutes, scraping the sides and bottom of the bowl at least once.
- Vanilla & Salt: Add 2 tablespoons of heavy cream or milk to the butter and cream cheese mixture, along with the vanilla extract and salt.
- Start Mixing! Turn mixer on medium speed until these ingredients are incorporated. This should only take about 30 seconds. Again, scrape that bowl!
- Powdered Sugar: Lower mixer speed to the lowest setting and start adding the powdered sugar in increments. Adding a tablespoon of heavy cream or milk between each.
- Mix on Low: Slightly increase the mixer speed to help mix these ingredients, but do not turn on too high or you will whip too much air into the buttercream.
- Scrape, Scrape, Scrape: Remember to scrape the sides and bottom of the mixing bowl to make sure all of the ingredients are incorporated!
- White Gel Food Coloring: After adding all powered sugar and heavy cream, finish by adding 2 teaspoons of white gel food coloring. (This step is optional, and only necessary if you want a bright white buttercream)
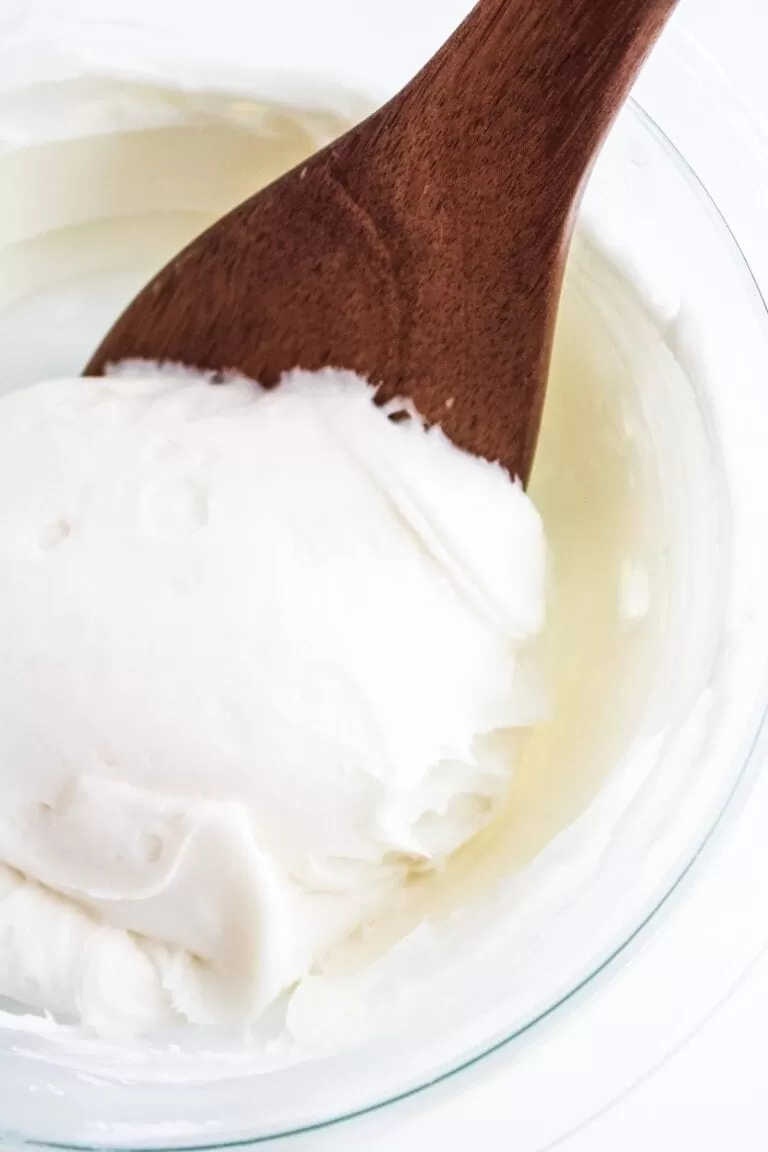
- Finish: Mix on low-medium until all ingredients are incorporated, at this point you should have perfectly white, smooth cream cheese buttercream!
Equipment
 Buy Now →
  Buy Now →
  Buy Now →
Fat Daddio’s Cake Pan (6 Inch)
Buy Now → Buy Now →
  Buy Now →
 (affiliate)
Notes
Keep in mind, all oven’s bake differently. I highly recommend an oven thermometer for oven temperature accuracy!
You can adjust the heavy cream amount in this recipe. For a stiffer buttercream, add less than recommended amount. For an ultra-creamy buttercream, add a maximum of 8 tablespoons of heavy cream.
- Prep Time: 30 minutes
- Cook Time: 30 minutes
- Category: Dessert
- Method: Bake
- Cuisine: American
DISCLOSURE: Some of the links provided on this page are affiliate links. This means if you choose to make a purchase through these links, we may receive a small commission at no extra cost to you. We only recommend products we believe will benefit our readers. Your support helps us continue providing quality content.


Thank you for this recipe! I have tried sooo many red velvet recipes from some of my favorite bloggers, but they never come out exactly as I want. And even though I’m not usually a doctored mix baker, this one checks all the boxes. It bakes up light and moist and everyone loves it.