
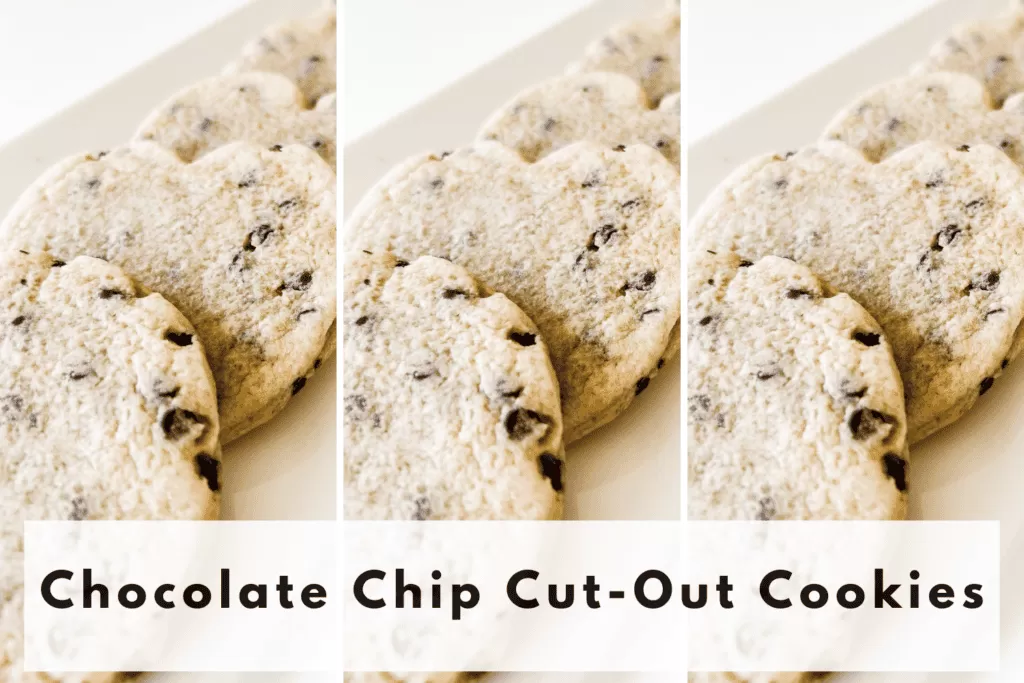
Chocolate Chip Cut-Out Cookies
Do you need a chocolate chip cut-out cookie recipe that checks all the boxes? By checking all the boxes I mean, no-chill, no-spread, and soft and chewy. Well, you’re in luck! You’ve officially found the perfect recipe for chocolate chip cut-out cookies! These cookies are packed with mini chocolate chips, hold that cookie cutter shape while baking, and come together in minutes!
This post is all about how to make the perfect chocolate chip cut-out cookies, you don’t want to miss it!
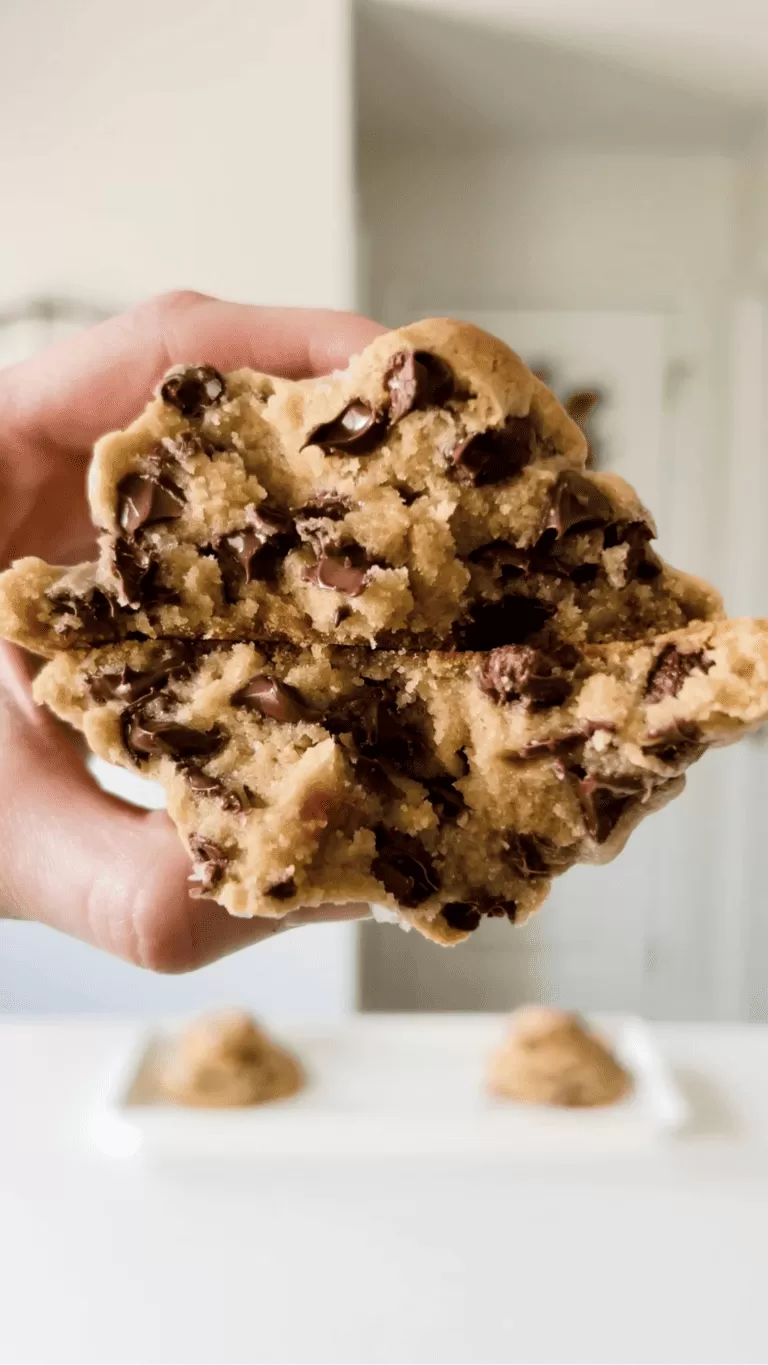
Cut-out cookies are a fun way to celebrate any occasion, with so many cookie cutter designs to choose from, the possibilities are endless! This simple and easy chocolate chip cut-out cookie recipe is absolute perfection for cookie decorating. Not to mention, a match made in heaven for those that don’t like traditional cut-out sugar cookies. Each bite is soft and chewy and bursting with mini chocolate chips. You’ll be reaching for this recipe over and over again!
Let’s get started!
What You Will Need:
- A Stand Mixer with the Paddle Attachment
- All-Purpose Flour (Can Sub 1:1 with GF Flour)
- Granulated Sugar
- Brown Sugar
- Butter
- Vanilla Extract
- Egg
- Salt
- Baking Powder
- Corn Starch
- Cookie Cutters (I prefer metal, like this 3-Pack of round cookie cutters from Hobby Lobby)
- Rolling Pin (I love a guided rolling pin for roll-out cookies)
- Parchment or Wax Paper (Optional)
- Food Scale (affiliate) (Optional, but highly recommended!)
[ Related Post: Cut-Out Cake Mix Cookies ]
Step 1: Making the Cookie Dough
The step-by-step recipe will be listed below. I recommend using a food scale to weigh your flour, granulated sugar, and brown sugar. It’s so easy to add too much, or too little of these specific ingredients. This can throw off the consistency needed to make sure these cookies stay no-spread and soft and chewy!
Extra Tip: If you decide to half this recipe, use the food scale (affiliate) to weigh the one egg this recipe calls for. Scramble the egg in a mug, and add half of the egg to your mixture. Using half of the egg keeps the consistency just right, as opposed to adding just the yolk or egg white!
Step 2: Roll Out Dough & Cut Out Cookie Shapes
Make sure to start rolling the cookie dough straight from the mixer and do not chill it first! Chilling the dough makes it much harder to work with since it firms up in the refrigerator. I always use a guided rolling pin when rolling out cut-out cookies of any kind. This keeps the thickness of each cookie the same! The video below will show how I roll-out the dough, cut-out the cookies and place them on a lined baking sheet!
Step 3: Bake
I roll-out these chocolate chip cut-out cookies with a guided rolling pin measuring 10mm/0.39in. This gives the perfect thickness for cookies in my opinion. I’ve found the magic numbers for baking is 350°F for 10 minutes. This will vary based on thickness! I usually look to see if the cookie dough looks “shiny”. If there’s still a sheen on the top of the cookie, they need to bake a little longer. If sheen is gone, or almost completely gone, the cookies are done! They will continue to bake after being removed from the oven.
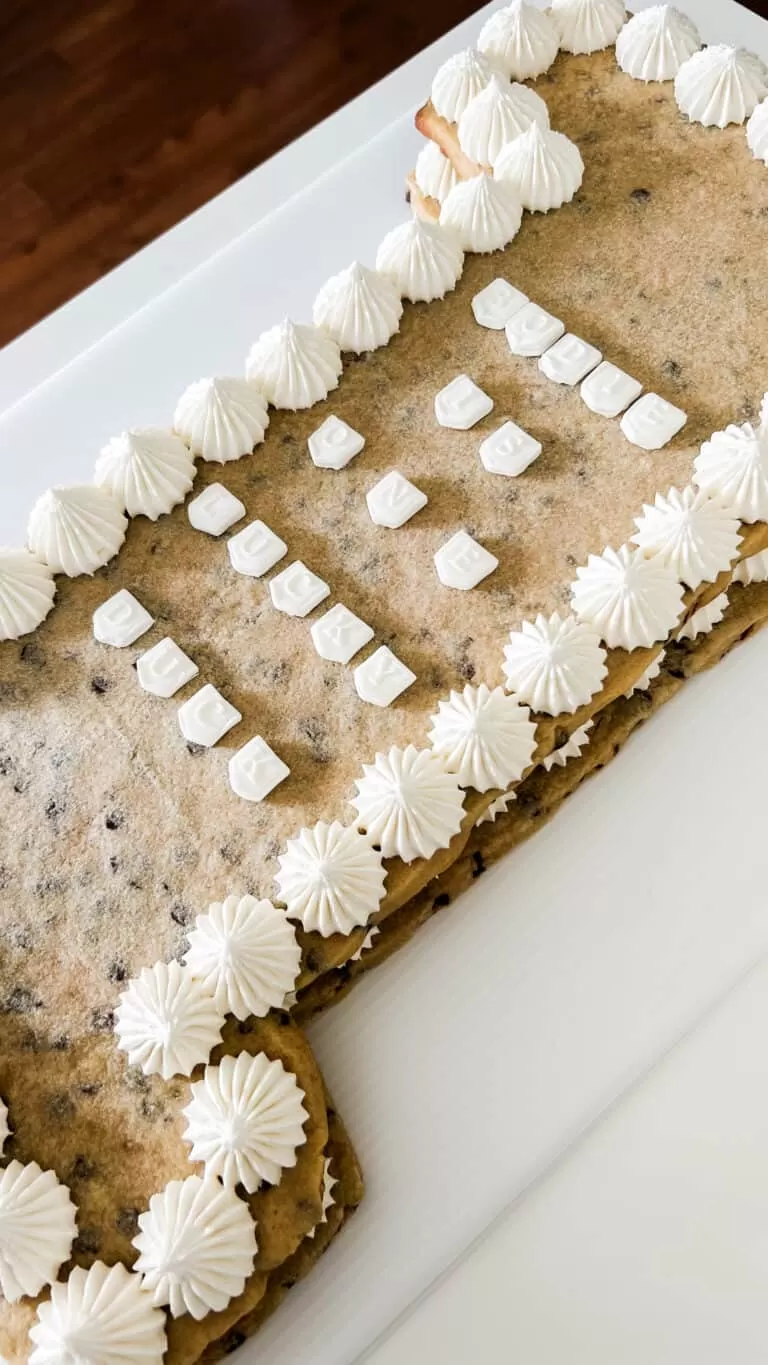
Step 4: Decorate With Your Favorite Buttercream
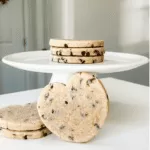
After completely cooling, finish off by piping your favorite buttercream or using my absolute favorite, Rolled Buttercream! Rolled Buttercream is perfect for decorating cut-out cookies, they provide that clean, fondant look, and tastes just like buttercream! I love using cookie stamps to level up my cookie designs as well. You can also make “cookie sandwiches”, by piping buttercream between two cookies, and sandwiching them together. Absolutely delicious!
[ Related Post: The Best Rolled Buttercream Recipe ]
This post was all about how to make chocolate chip cut-out cookies!
Follow the recipe below and you’ll have the best cut-out cookies for your next celebration with family and friends!
As always, enjoy!
Ingredients
- 1 Stick Salted Butter 113 Grams
- 1/4 Cup Granulated Sugar 50 Grams
- 3/4 Cup Brown Sugar Light or Dark 156 Grams
- 1 Egg
- 2 Tsp Vanilla Extract
- 2.5 Cups All Purpose Flour 300 Grams
- 2 Tbsp Corn Starch
- 1 Tsp Baking Powder
- 1/2 Tsp Salt Heaping
- 1/2 Cup Mini Chocolate Chips
Instructions
- Preheat Oven to 350°F
- Mix Together Flour, Cornstarch, Baking Powder, and Salt in Separate Bowl
- Add Butter, Granulated Sugar, and Brown Sugar to Stand Mixer Fitted with Paddle Attachment and Mix on Medium until Combined
- Add Vanilla Extract and Egg until just combined.
- Start Adding Flour Mixture to Stand Mixer on low until combined, the dough mixture should clean the sides of the bowl. This consistency is perfect!
- Add Mini Chocolate Chips and pulse mixer until combined.
- Roll Out Dough Using Cornstarch or between Parchment to keep dough from sticking to rolling pin or counter.
- Cut-Out Shaped Cookies and Place on Parchment Lined Baking Sheet
- Bake on Middle Rack for 10 minutes, this time varies based on cookie thickness!
Notes
Shop My Must-Have Baking Favorites Here
DISCLOSURE: Some of the links provided on this page are affiliate links. This means if you choose to make a purchase through these links, we may receive a small commission at no extra cost to you. We only recommend products we believe will benefit our readers. Your support helps us continue providing quality content.
I am far from a baker, and this was so easy for me and my kids to make together! Delish. Definitely will make again. Thank you!
I’m so happy to hear that, Beth! Thank you for coming back to comment 🙂
I’m assuming the butter is room temperature?
Yes, room temperature or slightly cold 🙂
This recipe for chocolate chip cutout cookies is wonderful! The dough is a dream to roll and cut. And the cookies are delicious!
I rolled my dough between parchment paper and then refrigerated it for 20 minutes or longer before using my cookie cutter. When baking, my chilled dough kept their shapes better. Thank you Brittany!
Hi Helen! I’m so happy you loved these! Thanks so much for coming back to comment 🙂 I’ll have more roll-out cookie recipes posted in the future, so stay tuned!